
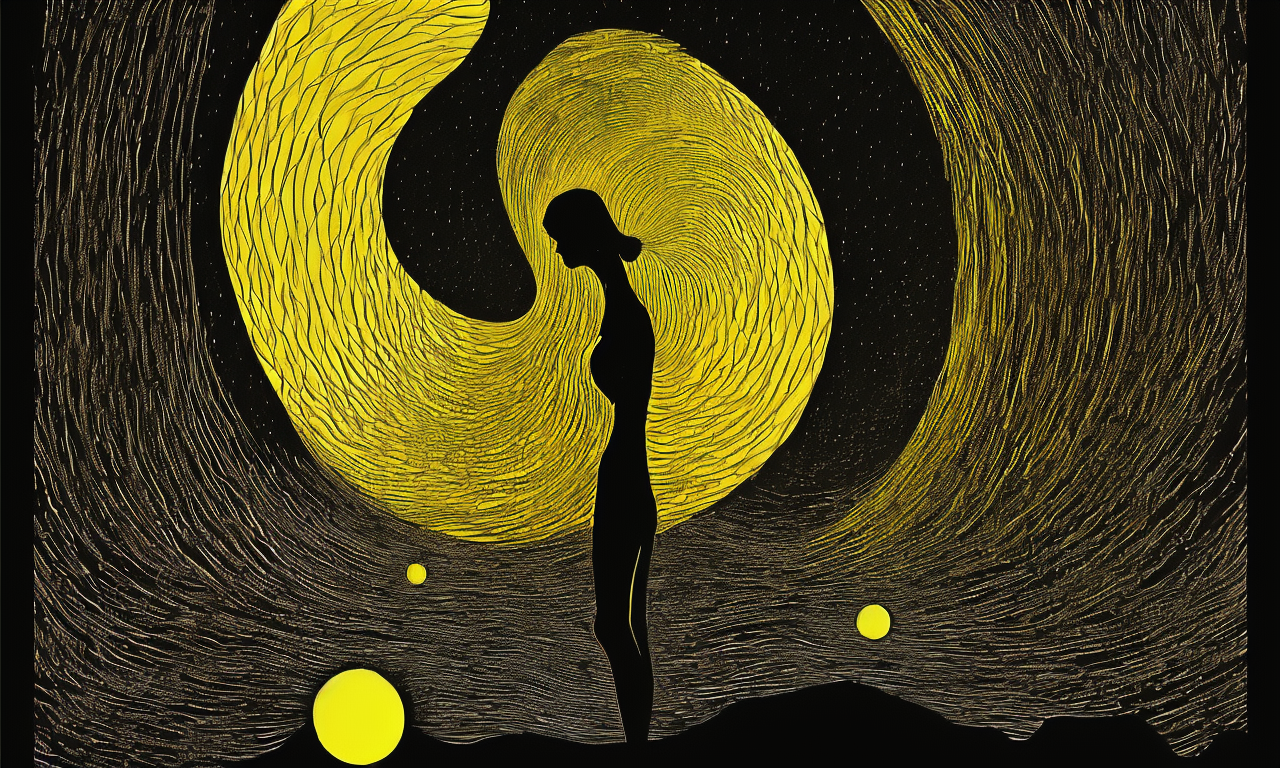
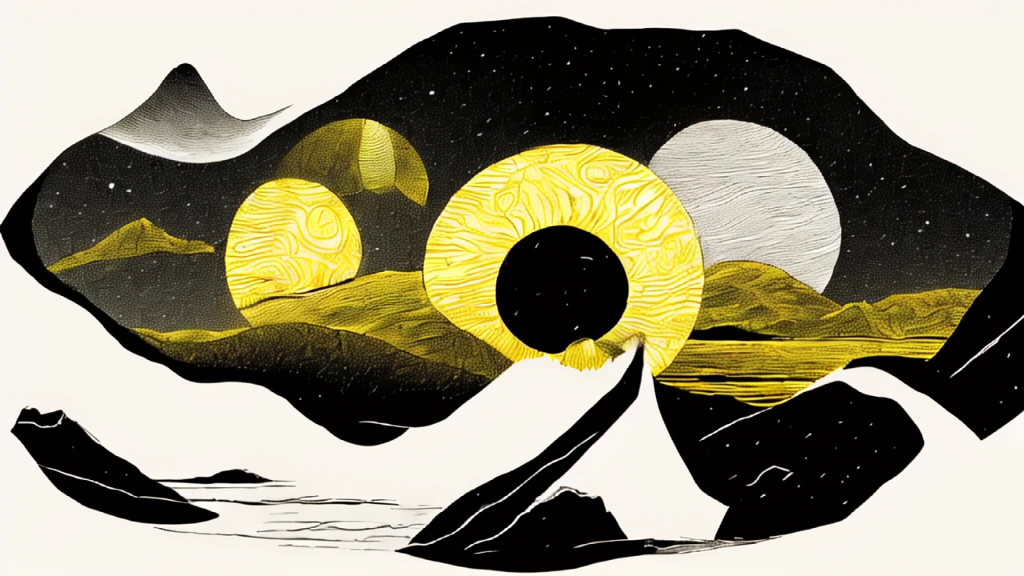
Guide to using the yellow and black duotone Ink effect in local tool: ComfyUI (with essentially Stable diffusion XL).
“ZIGMOON .JSON INK EFFECT + AUTOMOTION“
Today I’m excited to introduce a whole new way to generate artistic images using ComfyUI. ComfyUI is a node-based GUI designed for Stable Diffusion. You can build an image generation flow by chaining together different blocks, called nodes. This approach will push designers to no longer sell a fixed creative object but a graphic generation principle. The marquetting agencies will be able to play endlessly while the designers will really work on the new visual and graphic styles.
Below I am providing you with my bile pen image generation script + the triggering of a mini motion design.
Install
interface
ComfyUI
Download
script ZInk1.1.json
Used:
- Illuminati-Diffusion directly in Comfy-UI for INPUT (my prompt)
- SVD XT in OUTPUT (smart auto-motion)
How it works ?
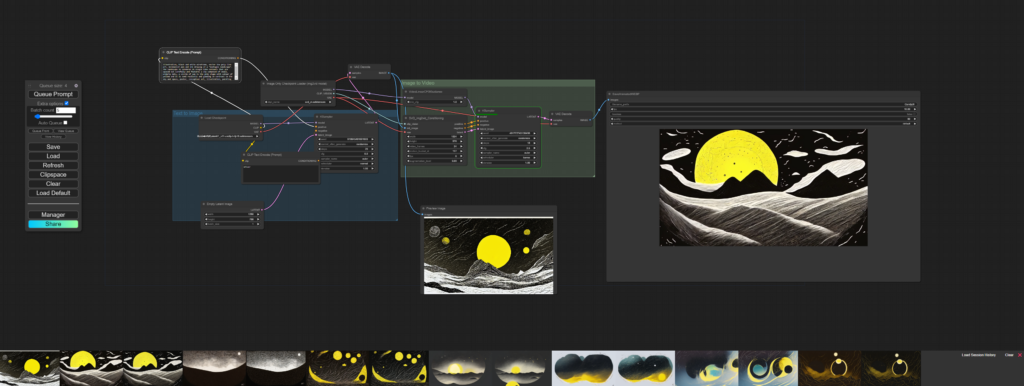
ComfyUI breaks down a workflow into rearrangeable elements called nodes. You can create your own image generation flow using blocks such as loading a checkpoint template, entering an invitation, specifying a sampler, etc.
Once your ComfyUI workflow is installed correctly, all you have to do is drop (by simple drag and drop) the JSON file Z_Ink_1.1.json into the ComfyUI interface.
Blocks used:
- Loading a Checkpoint Model: Import a checkpoint model to influence the generation process.
- Prompt Input: Set a prompt to guide image generation.
- Specifying a Sampler: Choose a sampler to determine variability in results, for example.
Step by step guide:
- Install ComfyUI, make sure you have a working version of ComfyUI installed.
- See the installation guide for local installation.
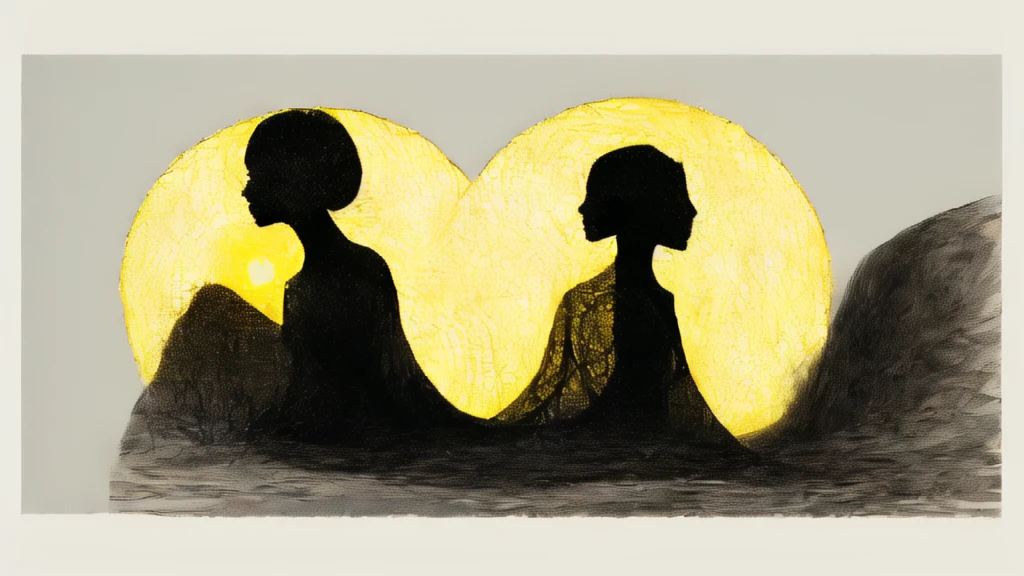
- Download the JSON file: on top page that I specially created to exploit the Ink effect with a yellow and black color palette.
- Import the JSON file: In the ComfyUI interface, import the JSON file.
- This will automatically apply the settings needed to achieve the Ink effect with yellow and black duotone. Customize to your needs: Explore ComfyUI’s many settings to adjust your creation to your preferences.
FAQ – ComFy UI

Q: Is ComfyUI compatible with all operating systems?
A: Yes, ComfyUI is compatible with Windows, Mac and Linux.
Q: Can I use ComfyUI with other graphic design software?
A: ComfyUI works as a standalone application, but you can export the generated images for use in other software if necessary.
Q: Are ComfyUI effects customizable?
A: Yes, ComfyUI offers many customization options for each effect, allowing you to create unique images to your liking.
Conclusion

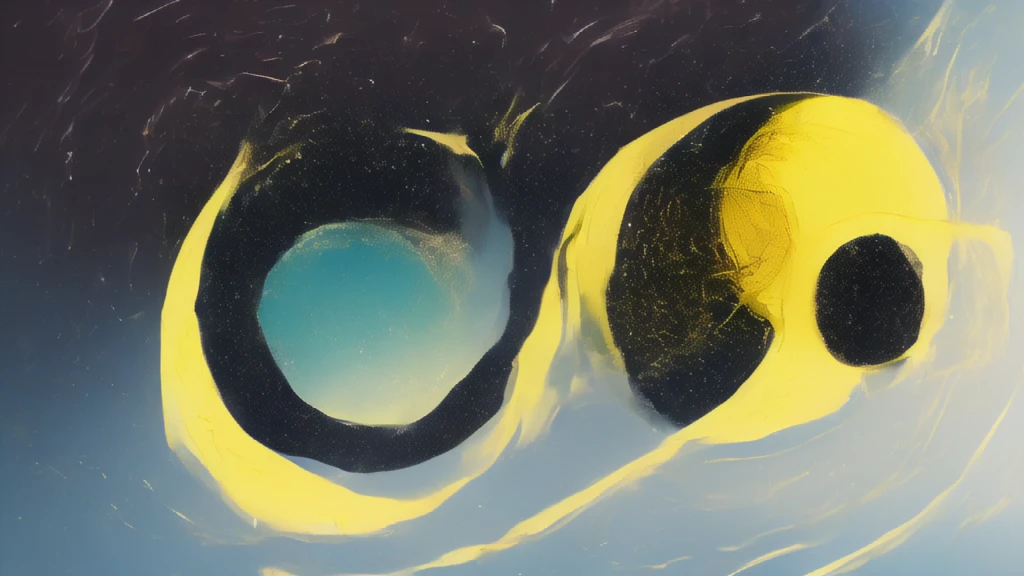
Experiment with the Ink effect and yellow and black duotone in ComfyUI to bring your designs to life in a unique and artistic way. Upload the JSON file here and very soon in a premium version on Gumroad and turn your projects into visually captivating works of art!
Don’t forget to share your creations with the hashtag #ComFyUIArt #Zink on social media. We can’t wait to see what you create!

Leave a Reply